Friday, March 14, 2014

Statement Art for Your Walls!

Statement Art for Your Walls!


You know if you have ever looked for large format artwork that the canvases alone are very pricey once they get to that size.  Well, try this!  I found 2 bulletin boards at Wal-Mart for $10 apiece with frames!  True, they are not real wood frames but if you leave them alone, they will act fine.  These measured a nice 36" x 24".  We had an idea to use a motif found on the internet.  Simple, one color but with impact!
 
First off, mask off the frames then prime with any white paint.  I had some white wall paint with primer built in but still gave it two coats.  We used a 6" roller along with a small foam brush for the edges. Once that is dry you are ready to transfer or draw your pattern onto the corkboard.

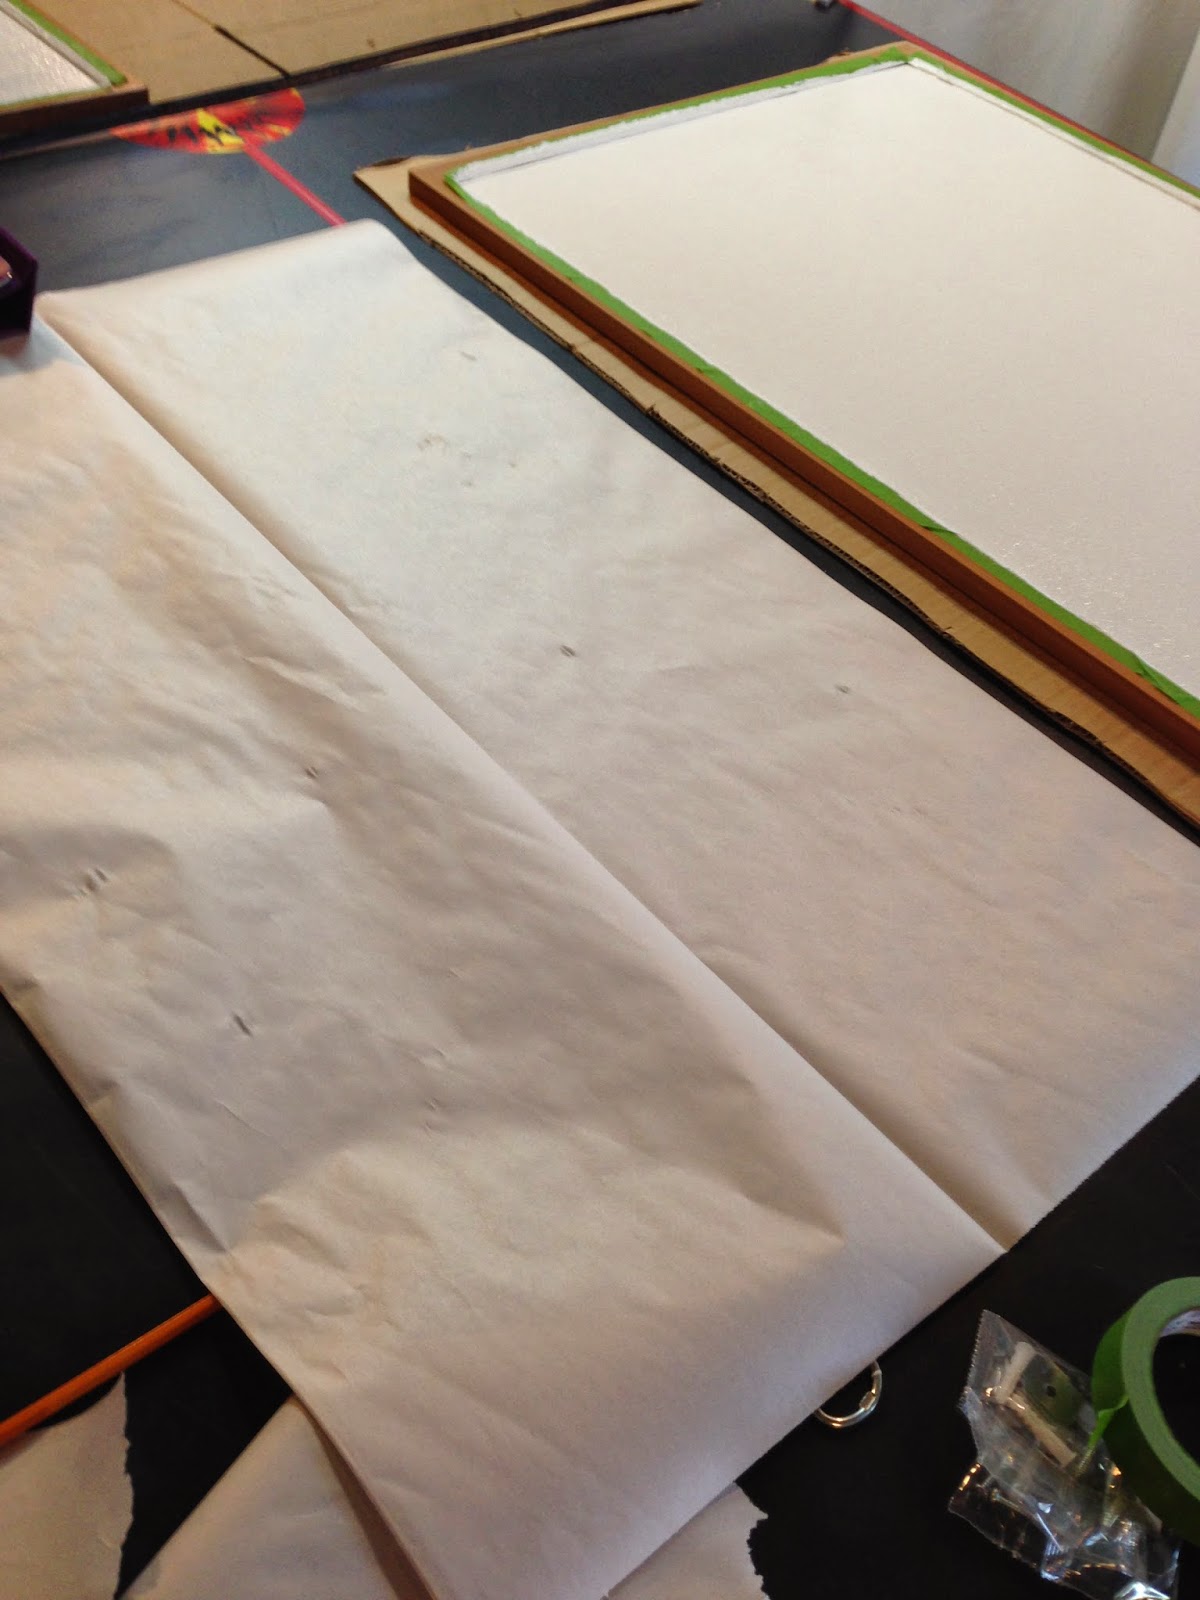
Sorry these pictures are so boring and don't even show my funny face!
 
 
Choose a motif or design you have seen from pinterest or on a rug, yardgoods or bedding.  If you don't have the confidence to draw this freehand, then borrow a projector and enlarge the original onto a large sheet of newsprint.  Then you can cut it out and trace it onto your board.  In this case we did it both ways just to see.  If you draw directly onto the cork, use chalk.  The chalk is forgiving and won't show through like pencil can.
 
 
Use chalk to outline your pattern onto the chalkboard.
 
I am getting ready to freehand copy a drawing I found, with chalk.  It helps to mark your center but you probably already know that!
 
Fill in the lines, just like coloring!  We used craft paint, two coats, and some nice brushes that are bushy and come to a nice point when you need it to!  Peel off your tape carefully.  I would recommend taking the tape off immediately the base coat dries.  We forgot and waited til the end which required a razor and a pair of eyeglasses and a lot of screaming.
 
Voila!  These boards came with some shenanigan wall hanging but we threw that out and used tiny hook and eyes and some picture hanging wire.  If you notice, these do not match and that is even better to look somewhat alike and yet not entirely.


Thursday, July 11, 2013

 How To Make a Concrete Statue

 
If you love working in concrete you will enjoy this process.  It is hand-built over an armature with embedded glass and a crown.  These look great standing at attention by your front door or as a garden keeper in your garden.

These are some of the tools you will need.  Carbide file, file, ruler, spray oil, duct tape, rasp, knives, scissors, steel wire, glass nippers.  Others not pictured: glass cutter, MORTAR MIX, water, 2 1/2" PVC pipe, large construction bucket, colored glass to embed, shapes to press into the wet concrete.


Using a hacksaw or Dremel cutting tool, cut the first 3" off the construction bucket.  This will be your mold for the base for your statue.  Place the rim on a board lined with heavy plastic.  Spray the interior with oil and tape here and there with duct tape so the edges don't move.  You will get a little leakage but don't be alarmed, this can be scraped off later.
Mix a batch of mortar mix to make the base.  Pour into the rim about 1 1/2" high.  Let sit for awhile, maybe a half hour, then stand the 2-foot length of PVC pipe into the center of the concrete.  Make sure your pipe is standing straight (you can use a level).  Cover with plastic and check in awhile to make sure the pipe hasn't moved.  Leave overnight.
Next day, unmold your concrete base.  Clean up the edges if necessary with the rasp.  Add pieces of foam or any rigid plastic to build up your shape on the PVC.  You can wrap some steel wire to make the collar at the neck.  Use liquid nails to secure all these pieces and leave overnight.
The next day you will want to wrap your foam and other added shapes with some wire.  This gives the concrete something to stick to.  Mix a batch of mortar mix.  From that scoop out a little in a cup and add water to it to make your slurry.  Use an old paintbrush to brush the slurry onto all parts of your armature.  Now you are ready to apply your first layer of mortar mix.  Make a patty, press onto the armature, layer the next overlapping this one.  Refine your shape as best you can but if pieces start to fall off, just leave it alone!
Cover with plastic overnight.
 

Next day, uncover, use the rasp, knives, file to refine your shape.  Hose down your piece, coat with slurry.  Mix up your mortar and add your second layer. This is the layer into which you will embed your glass and crown so make the layer thick enough.  Also, with the head, allow enough mortar so you can carve some away for the hair.  Embed your glass after about 1/2 hour so it doesn't rise back at you.  Don't worry at this point about the concrete mess on the glass.  Let it sit two hours, wipe off the glass pieces with a damp sponge.  Next day you can clean it up better.  After about 1/2 hour you can also incise the hair with a sharp stick and stamp your designs into the 'skirt'.  Cover with plastic and let sit overnight.  Next day, uncover and hose it down and file away to refine your shape. You can use the carbide file to refine or a stiff brass brush or even the rasp will work at this point.  The longer the piece cures, the harder it is to work on so try to get all your work done this first day after completion. Clean off the glass pieces.  This can be done with a wet cloth or a stiff brush.  Hose down and cover with plastic every day for a week. 
Then take your little statue around to see where she will look best in your yard!
Any questions, just send me an email at: whitebranchstudios@comcast.net

Monday, August 20, 2012

Cork Trees, another good reason to drink wine!

Jen and I are big fans of wine bottles ( both full and empty) and wine corks because both hold so much potential for great recycling projects. And if you have friends, as I do, who help contribute to the collection, it takes little time before you have plenty of inventory for projects. This is one wine cork project that I had fun making.


Here's how I made this little cork tree.


The supplies for this project:
Plenty of wine corks
Glue gun
Varying sizes of cardboard tubes or any sturdy tube that will work as a
base to glue a ring of corks to.


As you can see from this photo, Miss Happ took the job of collecting wine corks very seriously.


The base of the tree started with a 41/2 inch ring that was cut from an oatmeal box. I like to cut the ring just a little shorter than the cork height.
Once you cut the base ring, and before you actually start to glue, lay out the corks you plan to use to make sure you have a good fit. Wine corks vary a little in width and they definitely vary in height.


Once you have laid out the corks to accommodate the ring, glue them in place.


The next ring of corks was done on a 31/2 ring. Again, lay out the corks and then glue them on the ring.


As you build your tree, each layer will decrease in size until you reach the top which is one cork. And I usually try to find the prettiest or most appropriate cork for the top. If you are giving your tree to a friend, maybe the top cork is from their favorite wine.


As you get to the top of the tree, you no longer need a base onto which you glue the corks. Just glue them to each other to get the size you need.


Most of the trees I have made are 6 or 7 layers tall. But there are no rules, so have fun and make it your own.


When the tree is complete, I cut a piece of felt and glue it to the bottom of the tree to finish it off.


I use pieces of copper wire, bent into a kind of star shape for the tree topper, but there are all kinds of possibilities for a tree topper. So use your imagination and see what you come up with.


At this point I feel my trees are complete. I like the simplicity of them, but
that's not to say you can't decorate and embellish these sweet things all you want.


Posted using BlogPress from my iPad

Thursday, April 19, 2012

A TREEmendous wall

After getting new carpeting and painting the walls, I wanted to do something a little different on my hallway wall. The wall is about 10 feet high and was begging for some creative feature. I am always drawn to trees but wanted more than just painted trees on the wall. Since the hallway isn't very wide, the trees couldn't be too dimensional.

I went to one of my favorite sources for inspiration, Ikea. Sure enough in the "as is" room I found two bundles of their white laminate flooring and I knew I had my trees.

I called Jen for help designing the trees. We did a very large paper pattern. Then it was just a matter of using a scroll saw and cutting the laminate pieces to shape. Since the wood is lightweight, small finishing nails hold each piece in place. The seams were covered with thin strips of aluminum, and the birds were cut from patterned paper.

I am very happy with the way the wall turned out. It was very inexpensive, about $40 in total and pretty easy to do if you can use a saw.


-Trees are cut from Ikea laminate flooring.


The birds are cut from patterned paper and the cut wood seams are covered with strips of aluminum.

Posted using BlogPress from my iPad

Wednesday, March 14, 2012

VOILA, NOW THEY'RE TOTES!

Ready for the Beach!


When Jenny and I finish stamping our bleached fabric I couldn't wait  to get back to my studio to see what I would do next.  I think it was the unseasonably warm weather that had me thinking summer and days at the lake.  So I guess beach totes was the obvious outcome.  I pulled out my box of fabric, found some pieces to use as liners, did a little more embellishing on the stamped fabric and started sewing.
I started with a piece measuring 19 x 30".  If you want it lined, now is the time to cut a piece of liner fabric to the same size.
Fold fabric in half, right sides together.  Stitch down sides using 1/2" seam allowance. Repeat with lining fabric.
Putting in a gusset. Press open seam allowance.  When you press open the side seam you will see a triangle formed.  The seam must be in the middle of the triangle.  I measured 3  1/2" across the triangle and sewed along that line.  Trim away the excess, repeat at other corner.  Repeat all steps with liner.

Turn the tote right side out, fold upper edge under 1/2" and press.  With the lining inside out, fold its upper edge under 1/2" and press.  Insert the lining into the bag so that wrong sides are together and the folded upper edges align.


For the Straps I cut two pieces of fabric 4" x 24".  Press edges under 1/4", fold fabric in half, press and sew along the edges.


To attach straps insert short ends of each strap into the upper edge of the tote between two layers.  Place each strap four inches from side seam and two inches down into the bag.  Topstitch around the top of the tote 1/4" from the upper edge and sew a second seam 1/2" below the first seam.
To purchase these totes go to our etsy site: www.whitebranchstudios1.etsy.com


01 09 10